

If you’re building a home on a property served by a private well, your water quality and equipment can influence far more than what comes out of the tap. The layout of your utility room, the location of your kitchen, and even your laundry room placement can all be affected by decisions you make before construction begins. Ignoring this connection often leads to costly retrofits, cramped mechanical spaces, or plumbing runs that are inefficient and hard to service.
Planning ahead with your water system in mind can save you money, headaches, and future renovations.
Testing Your Well Water Before You Design
Before you finalize any floor plan, you need to know exactly what is in your water. Well water quality varies dramatically based on geography, soil composition, and the depth of the aquifer, so a test from a neighboring property will not tell you much about your own. A certified lab can identify hardness, iron, sulfur, bacteria, and other contaminants that will directly influence what equipment your home needs. This information should be gathered early, ideally during the site evaluation phase, so it can inform decisions about plumbing layout and mechanical room sizing.
- Test for hardness, iron, manganese, pH, and bacteria at minimum
- Retest annually or after any major weather event that could affect the aquifer
- Ask for a full mineral panel, not just a basic potability test
- Keep copies of results to share with contractors and designers
Sizing a Mechanical Room for Filtration Equipment
Once you know what is in your water, you can plan a mechanical space large enough to house the equipment needed to treat it. Many homeowners underestimate how much room a full treatment setup requires, especially if multiple issues like hardness and iron need separate solutions. A whole home water filtration system often needs space not just for the primary unit but also for a water softener, sediment filters, and adequate clearance for future maintenance or filter changes. Cramming this equipment into a closet-sized space makes servicing difficult and can shorten the lifespan of your appliances.
Beyond square footage, consider drainage access, electrical outlets, and floor material when designing this room. A floor drain is essential for backwashing softeners and filters, and a nearby outlet prevents the need for extension cords running across a damp floor. Placing this room near where the main water line enters the house also reduces plumbing complexity and cost.
- Allow at least a 6 by 8 foot footprint for a full treatment setup
- Include a floor drain and GFCI outlet in the design
- Position the room near the water main entry point
- Leave three feet of clearance in front of equipment for servicing
Locating Your Well and Planning Supply Lines
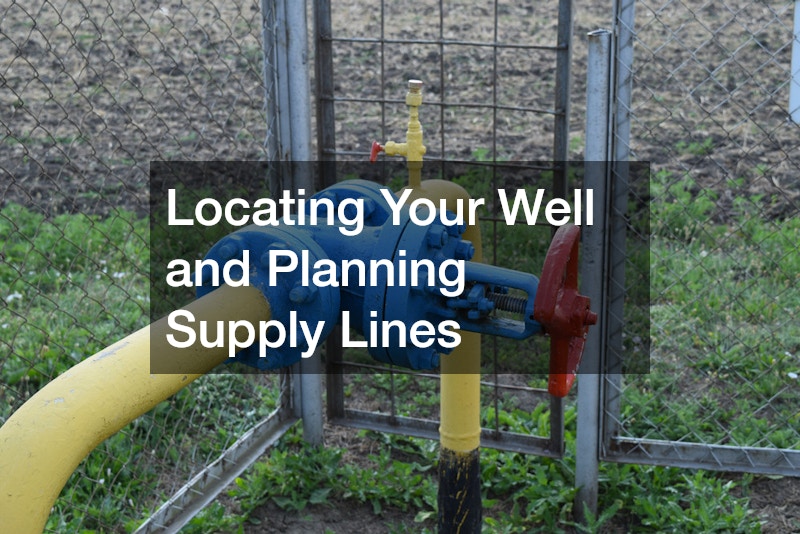
The physical location of your well relative to your house has a big impact on both cost and design flexibility. Longer supply lines mean more pressure loss and higher installation costs, so many homeowners work with well drilling companies during the site planning phase rather than after the foundation is poured. These professionals can advise on setback requirements from septic systems, property lines, and structures, all of which affect where your home can realistically sit on the lot. Getting this input early prevents surprises that could force a redesign of your floor plan later.
It also matters how the well interacts with your landscaping and driveway plans. A well positioned too close to a driveway can complicate future servicing, while one placed far from the home may require a larger pump to maintain adequate pressure throughout the house. Coordinating well placement with your overall site plan, not just your house footprint, leads to a more functional property overall.
- Confirm local setback rules for wells relative to septic and property lines
- Discuss soil and rock conditions that could affect drilling depth and cost
- Plan supply line routing before finalizing foundation placement
- Consider future landscaping and driveway plans when siting the well
Choosing Pump Equipment Based on Home Layout
Your home’s layout affects how hard your pump has to work, particularly if you have multiple stories, a large bathroom count, or fixtures far from the main line. Homes with water-hungry features like multiple showerheads, soaker tubs, or irrigation systems need a pump sized to maintain pressure across all of these demands simultaneously. Many well pump companies recommend a pressure tank and pump sized not just for current fixtures but for any future additions you might plan, such as a finished basement bathroom or an outdoor kitchen.
Placement of plumbing fixtures also affects pump performance. Clustering bathrooms and the kitchen closer together, rather than spreading them across opposite ends of the house, reduces the distance water must travel and helps maintain consistent pressure. This is a detail worth discussing with your designer early, since moving a bathroom after construction is far more expensive than adjusting a blueprint.
- Count total fixtures, including outdoor spigots and irrigation, before sizing a pump
- Cluster high-demand rooms like bathrooms and kitchens when possible
- Plan for a constant pressure system if your home has multiple stories
- Leave room in your budget for a larger pressure tank if needed
Positioning Plumbing Fixtures to Reduce Maintenance Headaches
Where you place your kitchen, laundry room, and bathrooms affects how much wear your water treatment equipment experiences and how easy it is to maintain. Fixtures located far from the treatment system may not receive fully treated water if the softener or filter is undersized for the distance, leading to spotting, scale buildup, or odor issues in those rooms. Placing your laundry room, which uses significant water volume, closer to the mechanical room can reduce strain on your plumbing and make troubleshooting easier if a problem arises.
It also helps to think about accessibility when placing shutoff valves and cleanouts throughout the home. Homeowners often regret hiding these components behind finished walls or under cabinetry with no access panel, since even minor repairs become a hassle. A little foresight during the design phase makes ongoing maintenance far simpler for years to come.
- Keep high-water-use rooms near the mechanical room when feasible
- Install accessible shutoff valves in key locations, not just at the main line
- Add access panels behind tubs and under sinks for future repairs
- Label plumbing lines during construction to simplify future service calls
Conclusion
Designing a floor plan around your well water quality is not an extra step; it is a foundational part of building a home that functions well for decades. From testing your water early to sizing your mechanical room and coordinating with the right professionals, every decision you make now prevents costly changes later. Talk with your builder, designer, and water treatment specialist together before finalizing your plans, so every system works in harmony from day one.
