

Before you break ground on a new build, the utility lines running underneath and around your property deserve just as much planning as the floor plan itself. Misjudging where water, gas, electric, or septic lines belong can lead to costly delays, safety hazards, and expensive rework once walls are already up. Getting these systems right from day one saves you money, protects your family, and sets your new home up for smooth living for decades to come.
This guide walks through the key utility and property considerations every homeowner should sort out early in the building process.
Mapping Your Underground Water and Sewer Lines
Every new build starts with knowing exactly where your water supply and sewer lines will run, and this decision affects nearly everything else on your site plan. Work with your builder or a licensed surveyor to confirm depth, distance from the foundation, and connection points to municipal or well systems before excavation begins. Skipping this step often causes conflicts later when landscaping contractors or fence installers hit unmarked lines during their own projects.
It also pays to think ahead about future water heater installation needs when planning these lines. Deciding now whether you want a tankless system, a traditional tank, or a hybrid unit will determine pipe sizing and placement, and it is far easier to plan for this before concrete is poured than to retrofit afterward.
Coordinating Gas Service Before Construction Begins
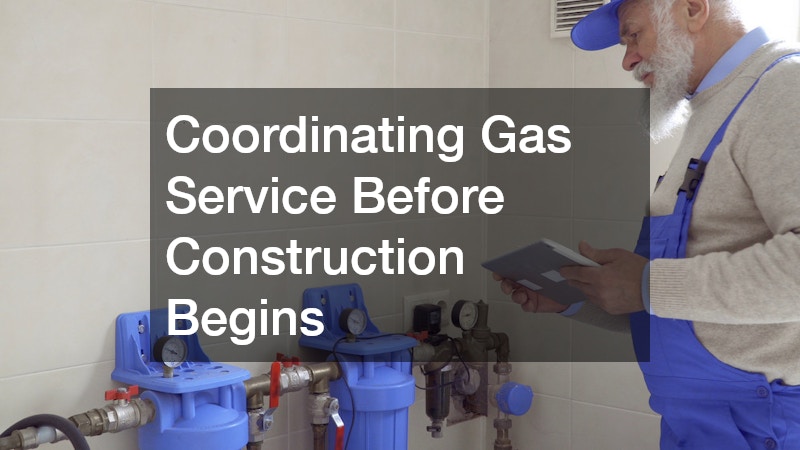
If your new home will run on natural gas, coordinating gas line installation early avoids major headaches down the road. Utility companies typically need lead time to run service to a new lot, and the trench work for gas lines often overlaps with other underground utilities, so sequencing matters. Talk with your local gas provider as soon as you have a finalized site plan so they can schedule the tie-in without delaying your build timeline.
Homeowners should also confirm which appliances will run on gas versus electric before this stage, since it directly affects how many lines are needed and where they terminate. A furnace, range, and water heater all pull from the same gas main, so undersizing the line now can mean reduced pressure and performance later.
Choosing Between Alternative and Natural Gas Service
Not every property has access to municipal natural gas, and that is where propane often becomes the practical alternative. Propane tanks can be installed above or below ground, and choosing the right size and location depends on how many appliances you plan to run and how much clearance your lot allows from structures and property lines. Many rural or suburban builds rely entirely on propane for heating, cooking, and even backup generators.
Before committing, ask your supplier about tank ownership versus leasing, refill scheduling, and local code requirements for setback distances. Getting this settled early prevents awkward placement issues once your driveway, patio, or landscaping is already finished.
Planning Electrical Service and Panel Placement

- Confirm where the main electrical panel will sit relative to the meter and service drop, keeping it accessible for inspections and at least 3 feet clear on all sides per code
- Size the panel for more than current needs — 200-amp service is standard for new builds and leaves room to grow
- Decide early if you want capacity for future additions like a pool, workshop, or EV charger, since adding a subpanel later means more trenching and cost
- Map out where underground conduit needs to run before landscaping begins, and mark those paths clearly so trees, patios, or irrigation lines don’t end up on top of them
- Coordinate with your utility company on transformer placement if it affects your yard layout, including required clearance zones (often 3-10 feet depending on the utility)
- Ask your electrician for a load calculation upfront so panel size and conduit runs match your actual planned usage, not just guesswork
Electrical planning goes hand in hand with your other utility decisions, since panel location often dictates where interior walls and mechanical rooms end up. Builders typically want this locked in early because moving a panel after framing is expensive and disruptive—often requiring rerouted circuits, patched drywall, and inspection delays that can push your timeline back weeks.
Start by confirming where the utility company’s transformer or service drop will connect to your property, since your panel location and the point of service need to align efficiently. Most panels end up on an exterior wall close to that connection point, often in a garage, mechanical room, or basement, to minimize the length of expensive service conductors. If you’re planning a larger home, ask your electrician whether a 200-amp service is sufficient or whether you’ll need 400-amp capacity to support things like electric vehicle charging, a workshop, or future additions.
Take the time to walk the site with your electrician and visualize how power will reach every corner of the home, including detached structures like garages, workshops, or guest houses. These outbuildings typically need their own sub-panel, which means trenching for underground conduit and deciding now whether that conduit run overlaps with water or sewer lines. Also flag any high-draw appliances—hot tubs, HVAC equipment, well pumps—so your electrician can size circuits correctly before walls close in.
Protecting Your Roofline During the Planning Stage
While roofing might seem unrelated to underground utilities, the two are more connected than most homeowners realize. Roof companies need to know where vent stacks, gas flues, and electrical masts will penetrate the roof, and these placements are decided based on where interior utility lines terminate. Getting this coordination right the first time avoids unsightly patches or leaks caused by poorly planned penetrations.
It also helps to loop in your roofing team when finalizing where downspouts and drainage will direct water away from the house. Since gutter installer teams typically work after the roof is complete, planning the drainage path early ensures water is routed away from buried utility lines rather than pooling above them.
Grading Your Yard for Proper Drainage
Proper grading protects both your foundation and the utility lines buried beneath your yard. Water that pools near gas meters, electrical panels, or septic components can cause corrosion, settling, or even safety hazards over time. The lot should be graded so water flows away from the house and any utility access points, rather than toward them, with a slope of at least a few inches over the first several feet from the foundation.
This is also the right time to plan where major landscaping features like retaining walls, garden beds, or irrigation systems will go, since digging for these later can accidentally damage buried lines. Always request updated utility maps before any post-construction digging begins, even if the original installation happened months earlier.
Finishing Interior and Exterior Surfaces Around Utility Access Points
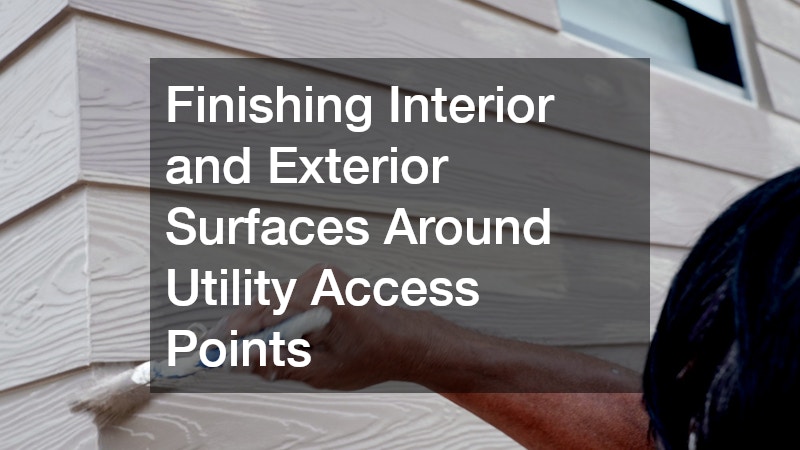
Once the utility rough-in work is done, attention turns to finishes, and this is another area where planning prevents future headaches. Home painters need clear access to areas around electrical panels, gas meters, and exterior spigots, so it helps to finalize these locations before exterior paint schedules are set. Mapping out this access early also gives painters room to set up ladders, drop cloths, and sprayers without working around obstacles that weren’t accounted for in the schedule.
Painting around obstructions after the fact often looks rushed and can even void warranties if panels are painted over improperly. Manufacturers of electrical panels, for instance, typically require a minimum clearance of 30 inches of unobstructed access, and sealing a panel door shut with paint can create both a code violation and a safety hazard during future inspections.
Gas meters present a similar issue, since utility companies generally require a few inches of clearance around the meter and regulator, and overspray on these components can mask corrosion or leaks that would otherwise be easy to spot. Exterior spigots and hose bibs deserve the same consideration, as painters need enough room to mask them properly rather than taping around a fixture jammed too close to a wall.
Coordinating with your painting contractor before the exterior finish schedule is locked in gives everyone a chance to flag these pinch points. A short walkthrough with the builder, electrician, and painter can catch conflicts while they’re still easy and cheap to fix, rather than after scaffolding comes down and touch-up work becomes the only option.
Interior finishing follows the same logic, since walls near plumbing or gas lines sometimes need future access panels for valves, cleanouts, or shutoffs. Discuss with your contractor where these access points should be placed so they blend into the finished design rather than becoming an afterthought once the home is complete. Common spots include behind water heaters, under sinks, near washing machine connections, and along shared walls with bathrooms above.
Access panels don’t have to look industrial. Many manufacturers offer paintable, flush-mounted covers that sit nearly invisible against drywall, and some can even be finished with matching tile or wallpaper for a seamless look. Discuss panel size with your contractor too — a 12×12 inch opening is standard for most shutoff valves, but larger equipment like tankless water heaters may require 18×18 inches or more for proper servicing.
It’s also worth mapping out these locations on your final floor plan before drywall goes up, so electricians, plumbers, and painters aren’t working against each other later. Ask your contractor to photograph or log the exact placement of hidden lines and panels, since this record becomes invaluable if you renovate or sell the home down the road.
Scheduling Pest and Wildlife Prevention Before Move-In
New construction disturbs soil and vegetation, which can temporarily push local wildlife and insects toward your property. Cleared lots remove natural habitats, so rodents, termites, and ants often look for the next best shelter — and a freshly built home with exposed utility trenches is an easy target. This makes prevention a timing issue as much as a treatment one.
It is worth scheduling an inspection with pest control companies before you move in, since early treatment around the foundation and utility entry points is far easier than treating an occupied home later. Many companies offer pre-construction soil treatments for termites, applied before the slab is poured, as well as post-construction perimeter treatments once utility lines are installed. Booking this 2-4 weeks before your move-in date gives chemical barriers time to cure and gives you a buffer to address any issues they find.
Sealing gaps where gas, water, or electrical lines enter the house also reduces entry points for pests. Pay particular attention to areas where conduit sleeves, HVAC lines, or plumbing stacks pass through the foundation or exterior walls, since these gaps are often larger than necessary to allow for installation. Expanding foam, steel wool, or copper mesh around these penetrations can block rodents and insects without interfering with utility function. A final walk-through with your contractor and pest control provider before closing helps confirm nothing was missed.
In more rural settings, larger wildlife can also become an issue, especially if construction has disturbed natural habitats nearby. Clearing land and grading soil pushes animals out of their usual territory, and a freshly built home with new landscaping and exposed utility lines often looks like the easiest food source around. Raccoons, armadillos, and feral hogs are among the most common offenders, and each can cause different types of damage.
Feral hogs in particular pose a serious problem in many parts of the country, tearing up several hundred square feet of lawn in a single night while rooting for grubs and roots. Some property owners find they need hog traps to manage nuisance animals rooting through fresh landscaping or damaging irrigation lines before the yard has a chance to establish. Corral-style traps tend to work better than single-catch box traps when dealing with a sounder, since hogs travel in groups and a partial catch can educate the rest to avoid traps altogether.
Timing matters here too. Setting traps or scheduling a wildlife assessment before sod is laid or irrigation lines are buried gives new homeowners a much better chance of protecting their investment, rather than trying to repair damage after the fact.
Adding a Fireplace or Chimney to Your New Build

If your new home includes a fireplace, the flue and gas connections need to be planned alongside your other utility lines rather than added as an afterthought. Whether you choose wood-burning or gas, the chimney placement affects roof penetrations, framing, and even how nearby rooms are laid out. Getting this decided during the planning phase avoids costly structural changes later.
Once the home is built and the fireplace is in regular use, plan for a routine fireplace cleaning service to keep it safe and efficient. Many new homeowners forget that even gas fireplaces need periodic inspection, and skipping this maintenance can shorten the lifespan of the unit or create safety concerns.
Conclusion
Getting utility lines right before construction begins is one of the smartest investments you can make in your new build, saving you from expensive rework and long-term headaches. Take the time to coordinate water, gas, electrical, and drainage plans with your builder and utility providers before any digging starts. Once the framework is in place, follow through with the right finishing touches and maintenance schedules to protect your investment for years to come. A little upfront planning now means a safer, smoother, and more comfortable home for everyone who lives there.
